

With more people than ever working from home, standing desks are surging in popularity. They promise a healthier, more active option than sitting at a desk (or, let’s be honest, on your couch). And some models even let you adjust the height, allowing you to sit or stand as the need arises.
Buying a standing desk, however, can be overwhelming. With dozens of options (and price points), which one is right for you? Plus, are standing desks even worth it?
This guide will answer your questions, helping you spend less time researching and more time working.
4 Standing Desk Options to Consider
Struggling to choose the right standing desk? We’ve got you covered. Below, you’ll find our top 4 picks to fit a variety of budgets and work needs.
DIY Standing Desk
Think you need to go out and buy an expensive standing desk? Think again. While buying a dedicated standing desk can be very helpful, you may have something around the house that will work.
The most basic DIY standing desk option is to use a tall table, dresser, or another piece of furniture that lets you stand and work. (A kitchen counter can also be a solid option). This is great if you want to try out the standing desk idea but aren’t ready to commit to a full setup.
If you go this route, be sure that your work surface is at an appropriate height. Per guidelines from the Mayo Clinic, you should place your work surface so that:
- The top of your monitor is just below eye level
- Your upper arms are close to your body
- Your wrists are straight, with your hands at or below elbow level
This can be tricky to achieve if you’re working on a laptop, which is why we strongly suggest a laptop stand and an external mouse/keyboard (see “Recommended Standing Desk Accessories” for more info).
If you don’t have a surface that’s the right height, you may be able to adjust the height using some materials you already have around the house (or can likely get for free/cheap). My dad, for instance, uses an old board on top of a couple of banker’s boxes as his standing desk:

I encourage you to get creative and see what you can make using the materials you have on hand. For more DIY standing desk ideas, see this list from LifeHacker.
Executive Office Solutions Standing Desk Converter
If you have a slightly larger budget, then consider getting a standing desk converter. This will let you keep your current desk or work table but also give you the option of an adjustable-height work surface.
Standing desk converters can get quite expensive and elaborate, but we don’t think those are worth it. If you have a higher budget, you’re better off using it to get a true standing desk (see the next two sections).
The Executive Office Solutions Standing Desk Converter is our top pick for a standing desk converter. It’s under $50, offers more control than most DIY setups, and is easy to put away when you’re not using it (or want to switch to sitting).
The only disadvantage is its lack of a place for an external keyboard (though you could still use it with an external keyboard and mouse placed on your main desk, as long as you can get the monitor to the right eye height).
IKEA SKARSTA Sit/Stand Desk
If you want to get a dedicated standing desk that you can adjust to sitting height but don’t want to spend a lot of money, the IKEA SKARSTA Sit/Stand Desk is the way to go. Martin, our web developer, uses this desk for his work and loves it.
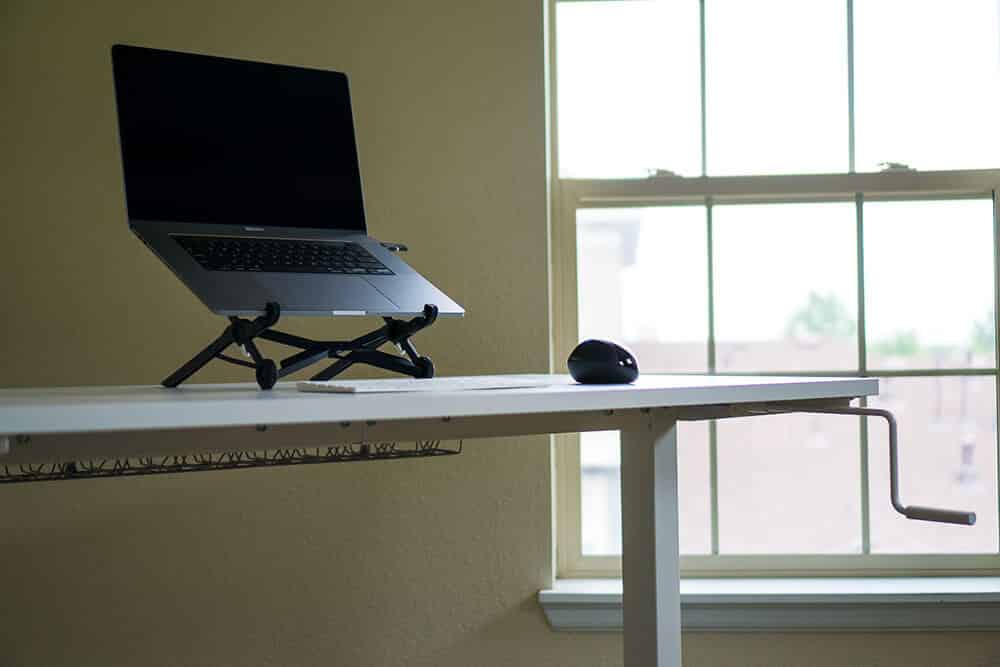
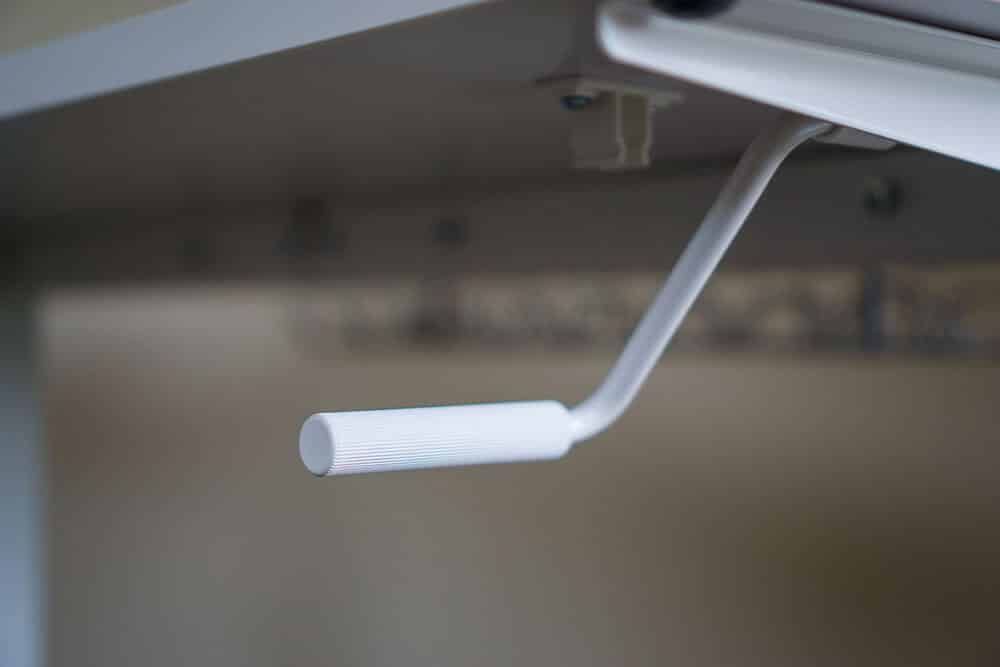
You adjust the height of the desk using a simple hand crank. While this requires slightly more work than pushing a button, it has the advantage of requiring no power supply or electronics that could break/malfunction. Plus, it will give you a bit of light exercise when you’re changing working positions.
While IKEA does sell an electronically adjustable standing desk, we don’t recommend it. Many reviewers have noted that the electronics are prone to malfunctioning. And at nearly $400 (as of this writing), we think you’re better off springing for our next pick if you have a higher budget and want to get an electronically adjustable desk.
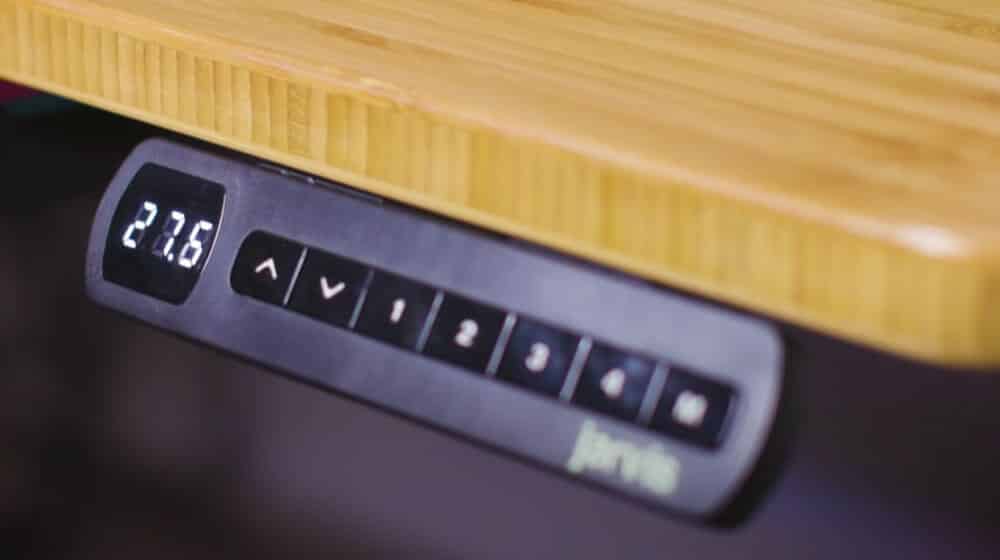
Jarvis Standing Desk
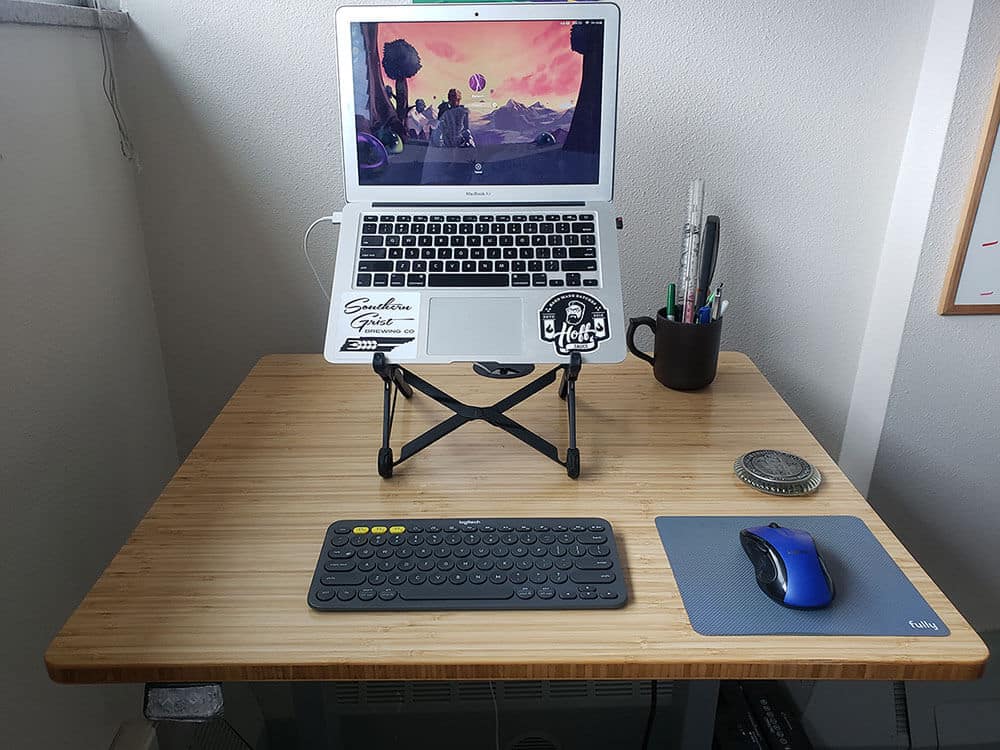
If you have a bit more money to spend and want more control over the look, size, and other customizations, then we recommend the Jarvis standing desk. I have the smallest model, and it fits great in the corner of my bedroom “office”. It would work equally well if you wanted an office nook in your living room, dining room, etc.
If you want more space for monitors, a larger computer, and other gear, then consider the model Thomas has. It’s the same basic desk, just wider.
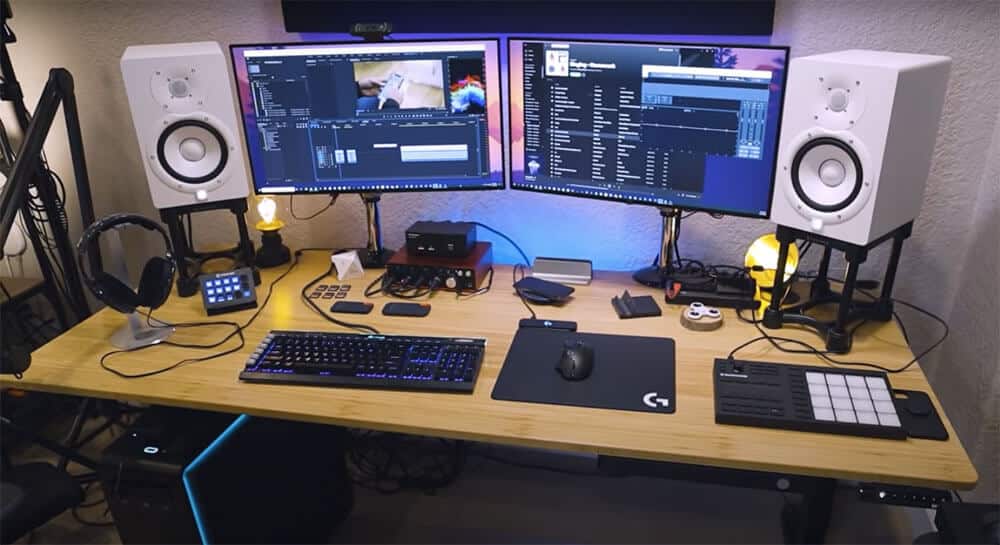
Thomas has also opted for the programmable height adjustment controls. Personally, I haven’t found these to be super necessary.
But if you dislike the idea of having to fine-tune the desk height every time you switch between standing and sitting, then you might want to add this feature.
Besides the programmable height adjustment controls, Jarvis offers many other potential customizations:
- Keyboard tray
- Cable management
- Desk organizer tray
- Monitor stands
- Different materials, finishes, and colors
Note that Fully (the maker of Jarvis) also sells their accessories individually, so you can always purchase them later if you decide you need them.
Recommended Standing Desk Accessories
To get the most out of your standing desk, we recommend pairing it with a few accessories. These will help make your work setup more ergonomic and pleasant.
Laptop Stand
To prevent neck strain, it’s best to use a laptop stand to elevate your screen to eye level while working.
I highly recommend the Roost laptop stand. It’s more expensive than other laptop stands, but it’s also far more durable. I’ve been using mine for almost 2 years and have taken it on dozens of trips. It’s never wobbled or failed, and it’s very light/portable.
Of course, if you plan to use an external display, then there’s no need for the laptop stand. Though I would suggest getting a monitor arm or some other device to elevate the monitor to eye level.
External Keyboard
Getting an external keyboard makes it far more pleasant to work for long periods of time (and it’s basically essential if you plan to use a laptop stand). I use this Logitech Bluetooth keyboard, but you can use any model you like.
External Mouse
I can deal with typing on my laptop’s keyboard, but I must have an external mouse. If you’re using a laptop stand, you’ll need one anyway.
I recommend this affordable Logitech option. If you’re into gaming, then you might want this fancier one Thomas uses. And I recommend getting a mousepad as well.
Anti-Fatigue Mat
When I started using a standing desk, I struggled with foot and lower back pain. After some research, I discovered this is a common problem. The best solution I’ve found is an anti-fatigue mat.
There are lots of options on the market (you could even use a thick yoga mat if you wanted). But the best one I’ve tried is the Topo anti-fatigue mat.
It seems a bit expensive, but the results are worth it. Using it, I can stand for long periods of time without getting any pain (as long as I remember to stretch and take regular breaks).
Note: I tend to work barefoot, so you might not need a mat if you wear shoes with lots of support or padding.
Balance Board
As an alternative to an anti-fatigue mat, you can try a balance board. I haven’t used one myself, but many of my friends swear by them.
The balance board forces you to constantly shift positions and engages muscles throughout your body. This helps prevent the pain you can get from standing in one spot too long.
If you’re looking to get a balance board, we recommend the FluidStance. It’s more expensive than many of the other balance boards out there, but note that it’s designed specifically for someone using a standing desk. Many of the cheaper boards I looked at were meant more for exercise or physical therapy, not for long periods of standing at a desk.
Do You Actually Need a Standing Desk?
Standing desks are having a moment. But is it just hype? Are they actually healthier than sitting, or is it just a clever marketing ploy to make you abandon your perfectly good sitting desk?
Intuitively, it seems that standing would be healthier than sitting. However, the actual difference in calories burned between working while sitting and working while standing is pretty low.
According to a 2016 study published in the Journal of Physical Activity and Health, working while standing burns about 8 more calories per hour than sitting (88 calories per hour vs. 80).
In comparison, the same study found that walking burns an average of 210 calories per hour. So even if you use a standing desk, it doesn’t absolve you from the need to take stretching and movement breaks.
Personally, I’ve found the main benefit of a standing desk is the variety of movement it encourages. When I’m already standing up, I feel more inclined to take short walks, stretch, or change positions than when I’m sitting. I also find that it gives me more energy and is helpful for beating the afternoon slump.
But YMMV, which is why I encourage you to try a DIY standing desk setup and see how you like it before buying a dedicated standing desk.
Furthermore, it’s possible to use only a sitting desk and still be very healthy. Here’s how:
Work with Good Posture
When we talk about “ergonomics,” we often imagine strangely shaped keyboards or mice. While these devices can help with certain issues, ergonomics is about more than devices. It’s also about working in a way that minimizes strain and prevents injury.
According to guidance from the Mayo Clinic, this means:
Both feet on the floor, thighs parallel to the ground
You may have to adjust the height of your chair to find the right position. If you’re having trouble getting your feet to rest flat on the floor, try using a foot rest.
Top of the screen eye level
Your computer screen should be high enough that you don’t have to bend your neck to look at it. And, conversely, low enough that you can look at it without craning your neck upwards. This can take some experimentation, but aim to have the top of your screen at (or slightly below) your eye level.
Monitor at arm’s length
Your computer monitor should be about an arm’s length away from you. This will help you avoid eye strain from placing the monitor too close or far away.
Vary your movements
The best way to avoid repetitive stress injury is to vary the movements you make while working. This can be tricky with a computer, as the motions involved are often quite repetitive.
But there are some things you can do to add some variety. Mainly, learn to use keyboard shortcuts. Not only do they save a lot of time, but they help you avoid repetitive mouse-clicking motions that can strain your hands and fingers.
I’ve also found that learning to type keyboard shortcuts with both hands can help avoid strain if you use the same keyboard shortcuts frequently.
Take Frequent Movement Breaks
Sitting isn’t inherently bad for you. But sitting for long periods of time is. Your body was made to move!
So it’s fine to sit while working, so long as you take frequent movement breaks.
What you do when you take breaks doesn’t matter as much as taking them regularly. Here are a few things I do during movement breaks:
- Walk around the house (and often get some more water, coffee, or tea)
- Do some stretches (see the next section)
- Calisthenics (jumping jacks, push-ups, pull-ups, etc.)
- Simple yoga poses
The key is remembering to take these breaks. I recommend installing an app on your computer to remind you to get up and move every so often.
I try to get up at least every hour, and I use an app called Take a Break to remind me. It runs in the background of Google Chrome and sends a simple notification to take a break every 50 minutes or so (though you can change it to whatever interval you prefer).
If you’d rather use a desktop app, Stretchly is a solid cross-platform option.
Finally, if you have a smartwatch or fitness tracker, you can also set it to buzz or otherwise remind you when it’s time to take a break.
Flexibility Training
Taking regular movement breaks will go a long way towards preventing repetitive stress injuries and cardiovascular problems. But, ideally, you should also do some regular flexibility training to keep your body limber and mitigate any damage from sitting.
You don’t have to contort yourself into a pretzel, either. A mix of yoga and basic stretches is all you need.
I’m not a yogi, so I’ll refer you to this excellent playlist from Yoga with Adriene. It includes stretches specifically designed to increase your flexibility, release tightness, and prevent injury.
In addition, this guide to improving flexibility from our friends at Nerd Fitness is useful if you’re looking for a step-by-step process to become more flexible.
Strength Training
Finally, doing some work to improve your general strength and fitness will also help you avoid RSI and other health problems that can come from too much sitting.
In particular, pay attention to strengthening your core (which can help prevent lower back pain).
Also, try to do activities that involve a variety of movement and force you to engage different muscle groups.
I’ve found rock climbing to be really helpful for preventing hand and wrist pain from typing, as it requires a wide variety of movements (not to mention, it’s super fun!). But any activity with lots of different movements will help.
New to strength training? Give this guide a read.
Start Standing
I hope this guide has given you some guidance if you’re trying to find the right standing desk. To recap, these are our top picks (in order of price):
- DIY standing desk
- Executive Solutions Standing Desk Converter
- IKEA SKARSTA Sit/Stand Desk
- Jarvis Standing Desk
Finally, remember that a standing desk isn’t a substitute for working ergonomically, taking regular breaks, improving your flexibility, and getting stronger. You need to do all of these in order to remain healthy and injury-free.
Shopping for a standing desk as part of your work from home set up? Here’s our complete guide to setting up a home office.