It’s hard to believe, but this website has existed since 2010. While I’ve only been involved since 2015, I’ve seen the site grow tremendously in that time. The website now sees over 200,000 visitors per month, and we continue to publish a new article each week.
Have you ever wondered how we keep up with such a large, long-standing site? Our process has certainly evolved over time. When I started at the company, we used Trello to keep track of everything. Later, we moved to Asana, then Todoist. And since around 2021, we’ve been using Notion.
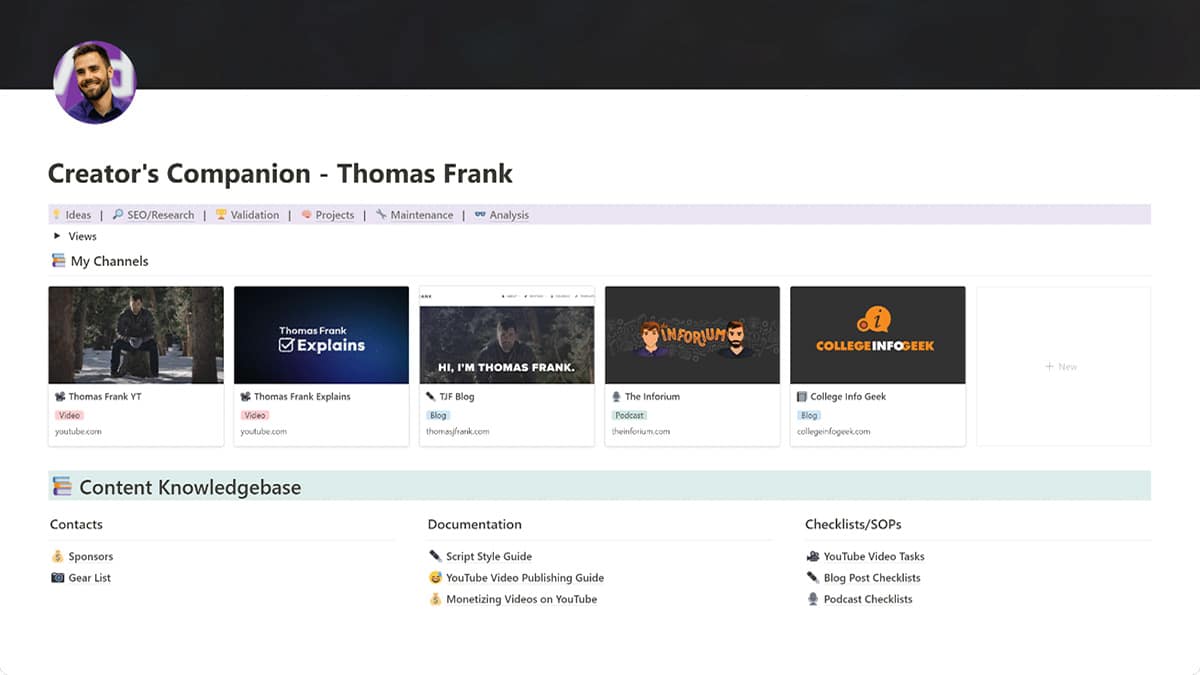
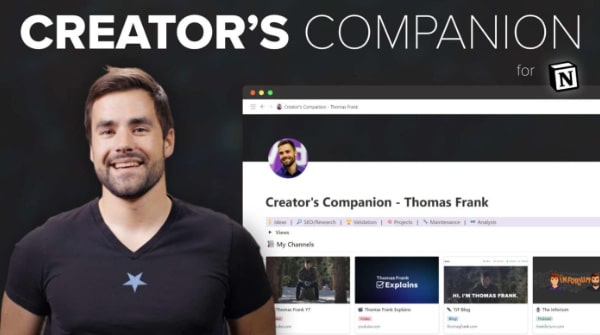
Of all the systems we’ve used, our Notion setup is the most heavily customized for our needs. Known as Creator’s Companion, the system is the brainchild of Thomas Frank (with significant contributions from Martin Boehme).
While Thomas designed this new system primarily to manage our YouTube channel, it’s also proved immensely useful for managing this website. Recognizing this, I thought it would be interesting to show how we use Notion to direct our monthly content production.
I’ll start with a look at how we come up with article ideas. From there, I’ll move into the process of using Notion to help research, write, and edit an article. Finally, I’ll show you the role Notion plays in our post-publish tasks.
If you’re looking for a better way to manage your growing website, this article is for you.
Step 1: Idea Generation
Around the end of each month, I meet with Martin (our director of operations) to brainstorm article topics.
During the meeting, I record promising topics in the “Ideas” section of our team’s Notion. I also use this area to record any article ideas I come up with outside of meetings.

From there, we develop the article ideas further and decide which ones will be the best fit for our audience. We do this through a combination of keyword research (using Ahrefs) and intuition.
With the topics decided, I can move on to the next step: planning the month’s content.
Step 2: Planning and Deadlines
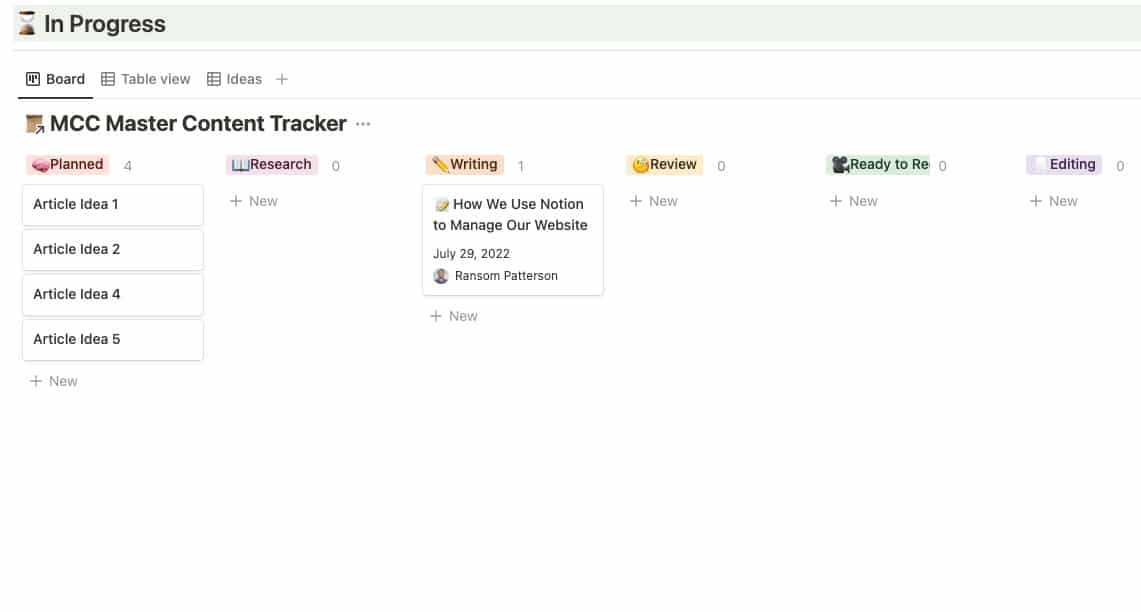
Once Martin and I have picked the article topics for the month, I move each article’s card from the “Ideas” to the “Planned” section in Notion:
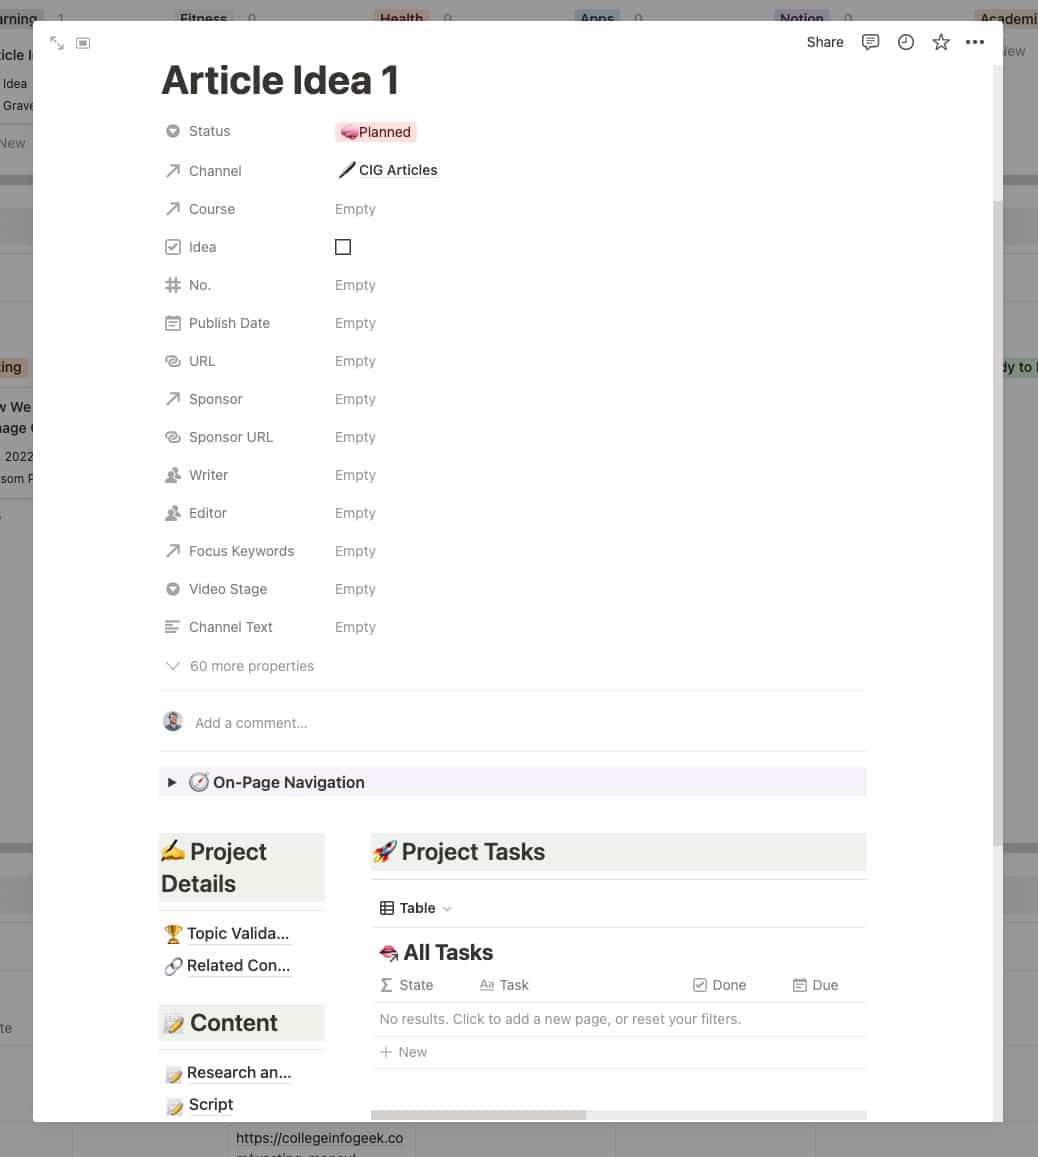
I then go into each article’s card and choose the “CIG Article” template. This automatically creates several sections that I’ll use going forward, including an area for research and another for tasks related to the article:
After I’ve applied the article template, I choose a publication date. This is my deadline going forward:
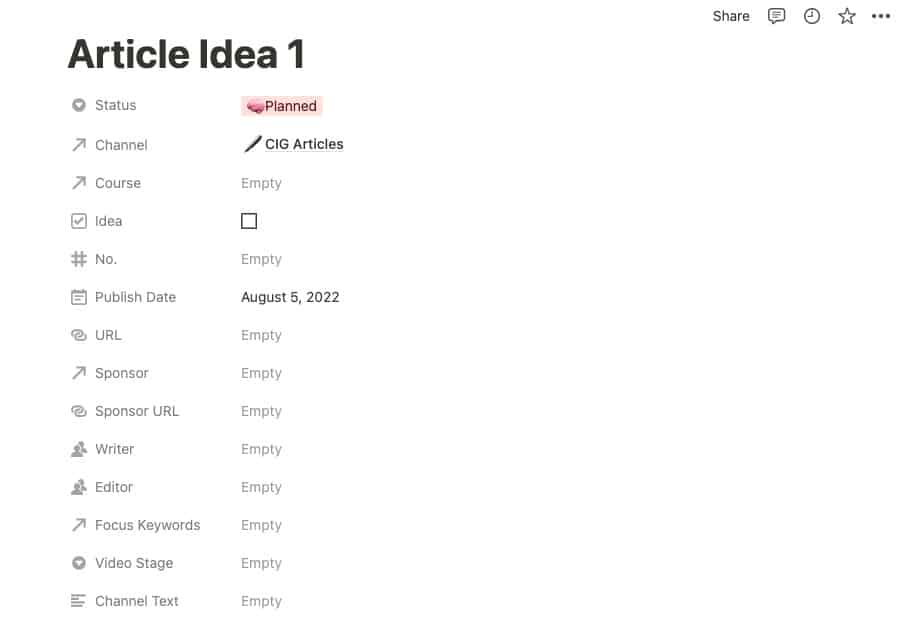
Once I’ve picked a publish date, I can move on to the next step: assigning article tasks to other team members.
Step 3: Assigning Article Tasks
Every article we publish also gets shared on our Twitter and Pinterest accounts. But before I can share the posts on social media, I need corresponding share images. This is where our designer Ashley comes in.
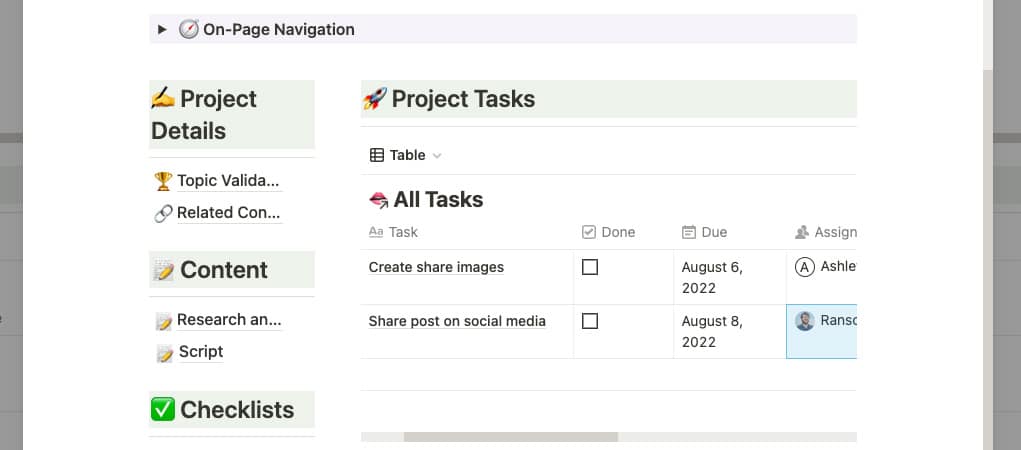
To let Ashley know which share images she needs to create, I assign a task in Notion called “Create share images.”
Since the article template includes a “Tasks” section, this is a quick process. All I have to do is name the task, set a due date, and then assign it to Ashley.
After I assign the image creation task to Ashley, I assign myself a task to share the post on social media.
The result looks like this:
After I’ve assigned the tasks for each article, I move on to the next (and longest) process: research, writing, and editing.
Step 4: Keeping the Articles on Track with Notion
Each Monday, I check Notion to find the article that’s due at the end of the week. I then move that article’s card to the “Research” section in Notion:
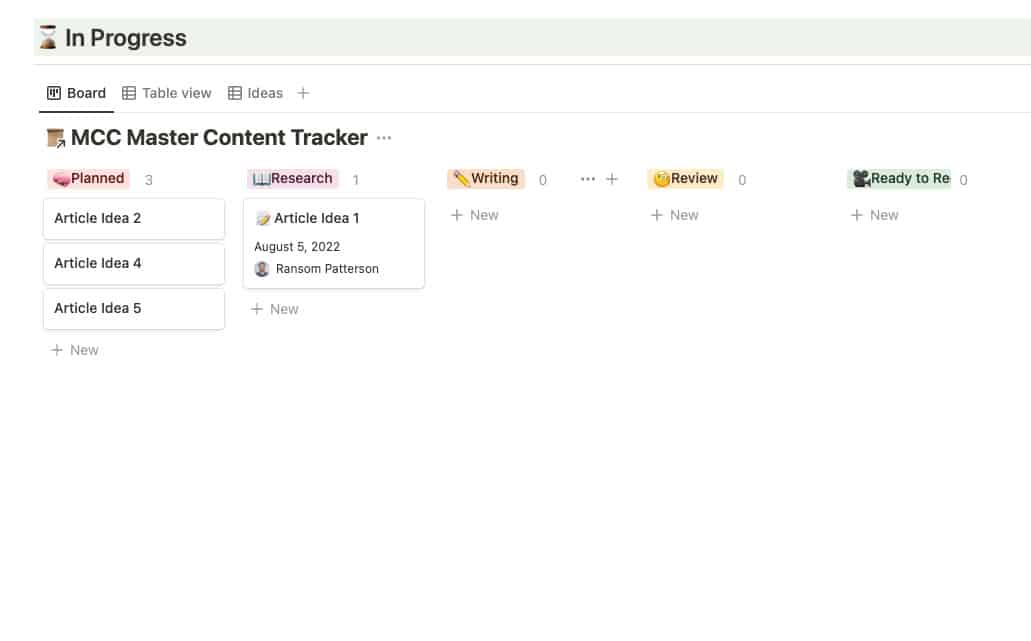
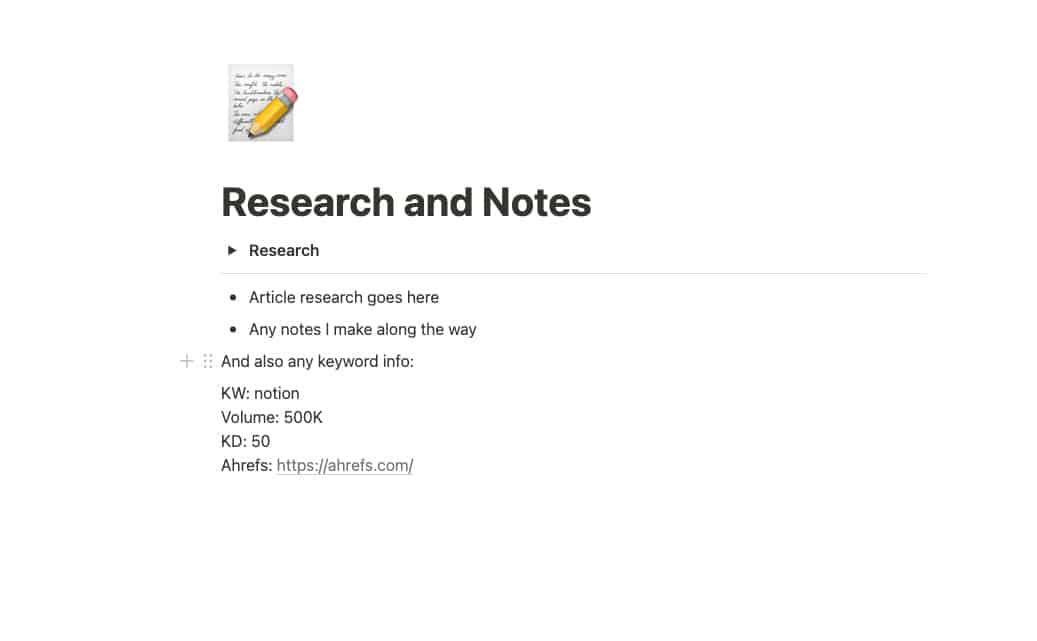
The research process typically takes me a couple of days, though sometimes longer if the article topic is especially technical. As I research, I record all my notes inside the “Research/Outline” section of the article’s card in Notion.
These notes include info for the article and any keyword research data I’ve gotten from Ahrefs:
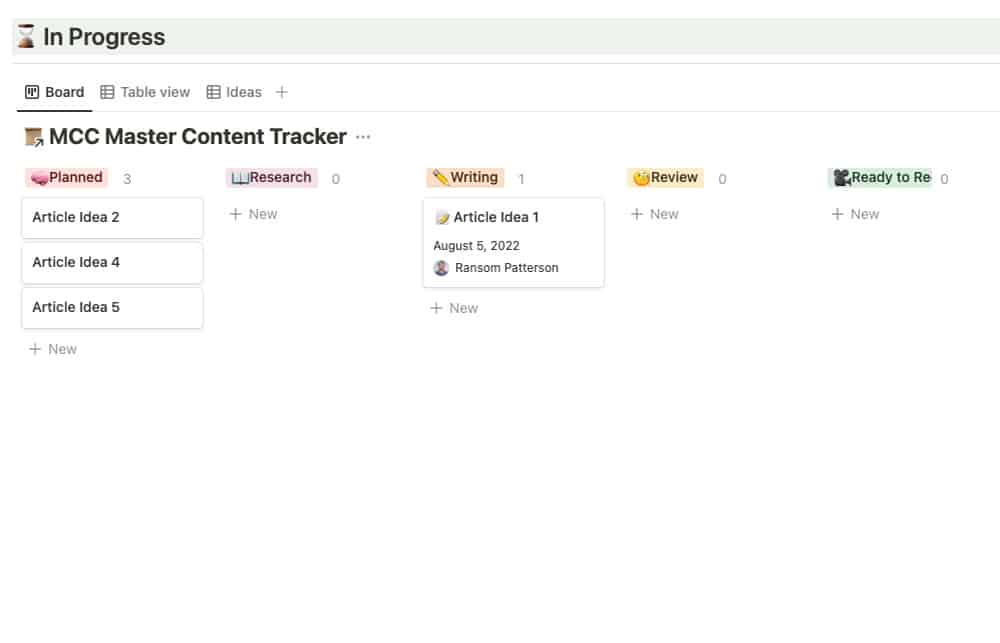
After I’ve finished the research phase, I move the article’s card to the “Writing” column. And then I write the article, which typically takes a couple of additional days:
When the writing is over, I move the article card to the “Editing” column:
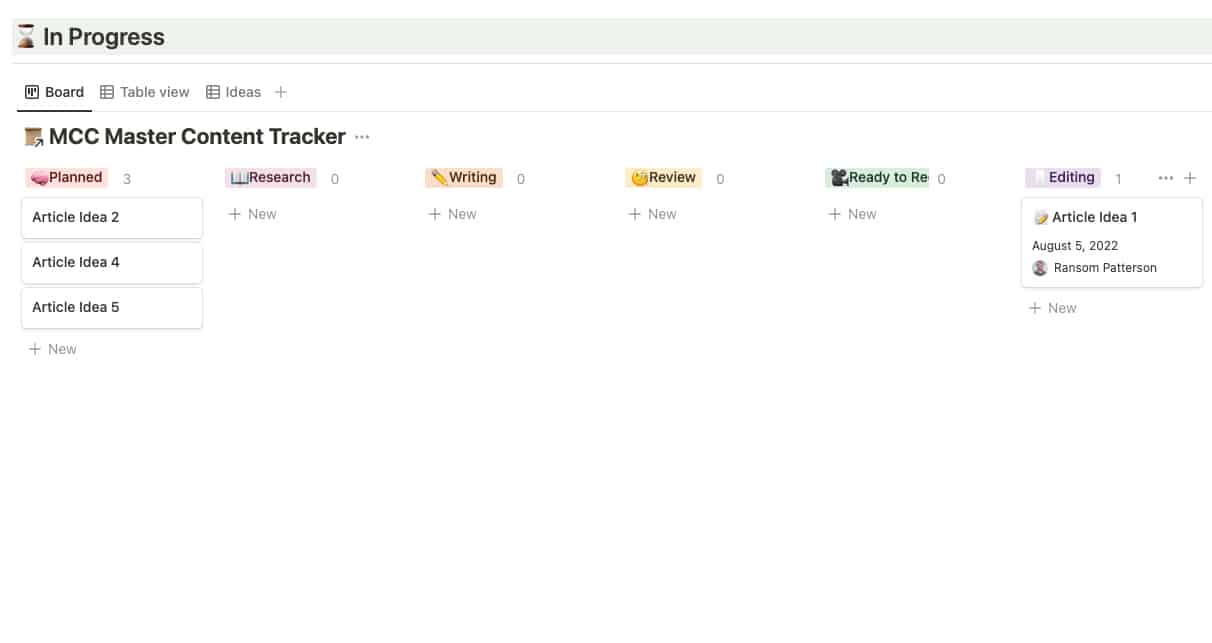
Since I edit the articles myself, this is mostly for my reference. But if I were managing a team of writers, I could use this Notion column to quickly see, at a glance, which articles were ready for me to edit.
Tracking my progress in Notion this way also lets my manager see that everything’s on track without having to exchange emails or Slack messages.
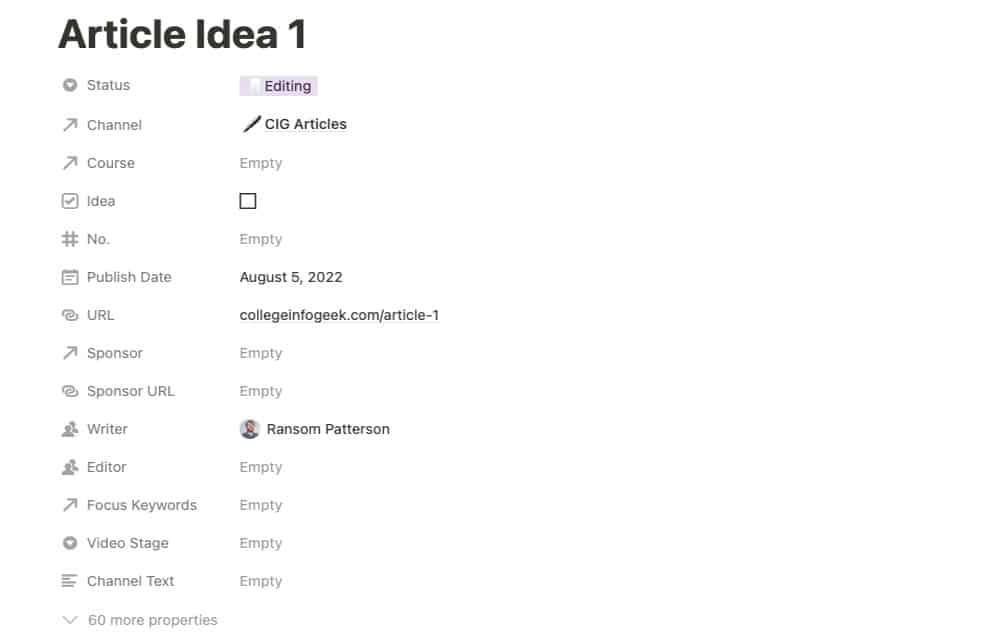
When the edits are done, I publish the article. Then, I paste the link to the live article in the URL field of the article’s Notion card:
With that done, it’s on to the final set of tasks.
Step 5: Post-Publish Tasks
Now, I move the article card to the “Post-Publish Checklist” column:
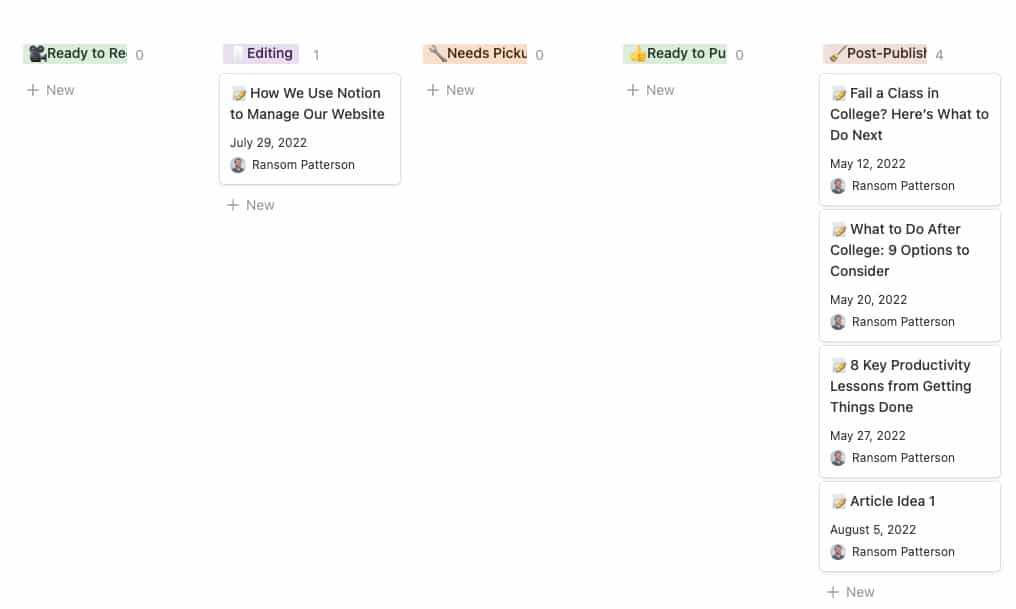
Unlike videos, which have an extensive list of post-publish tasks, the checklist for articles is short. It consists of the two tasks I mentioned earlier: creating the share images and sharing the post on social media.
After Ashley creates the share images, she uploads them to Google Drive. I then download the images, upload them to Buffer, and share the post on Twitter and Pinterest.
Finally, I move the article’s card to the “Completed” column. This archives all information related to the article in a different area of our team’s Notion:
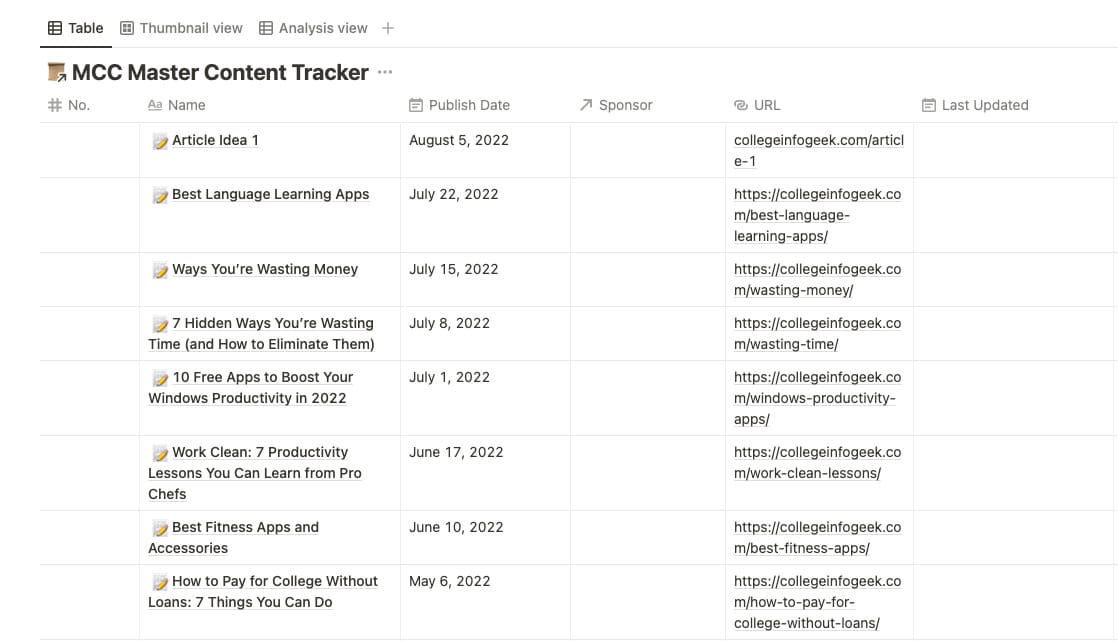
I repeat the above process each week until a new month rolls around. And then it’s back to the brainstorming phase.
Improve Your Content Production Process with Creator’s Companion
I hope this article has shed some light on how to better manage your blog using Notion.
If you’re interested in using the system I discuss in this article to handle your content production, you can learn more about it below:
Tired of juggling note-taking apps, to-do lists, and spreadsheets while making YouTube videos and blog posts? Me too.
Creator’s Companion is the exact system my team and I use to run my 2-million-subscriber YouTube channel, the blog you're currently reading, and all my other channels and social media profiles.


